 |
______
|
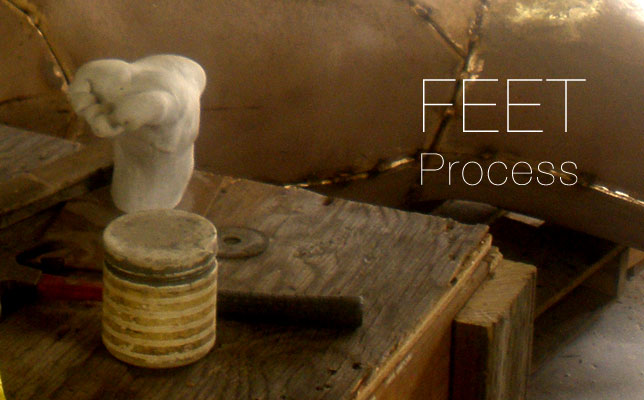
____________________________________________ "The process of art is as much an art form as the outcome. The creation of a large pattern cast bronze statue is both intricate in its details and massive in its scope and materials. Presented here is just a brief outline of the process that manifested the bronze Feet sculpture. To truly know a process one must be a part of it, enact it, make mistakes within it and through time feel mastery of it. May this be a glimpse at such ideals." - Dan Beyer
____________________________________________ |
______
|
 |
 |
 |
 |
 |
 |
 |
 |
 |
 |
 |
 |
 |
 |
 |
 |
 |
 |
 |
 |
 |
 |
 |
 |
 |
 |
 |
 |
 |
 |
 |
 |
 |
 |
 |
 |
 |
 |
 |
 |
 |
 |
 |
 |
 |
 |
 |
 |
 |
 |
 |
 |
 |
 |
______
|
_______________________________________________ FEET : Process Many essential details were glossed over. For more information about any step of the process please email me. I would be more that happy to discuss. [ mail@thehinge.net ] _______________________________________________ |
____________________ | ||||
. |
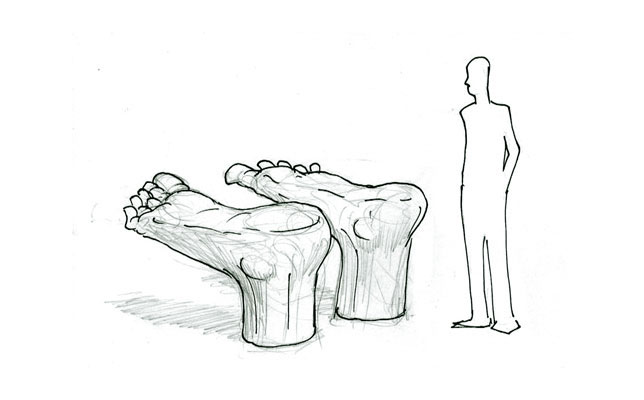
Everything begins with a thumbnail sketch of the idea. Pencils and pens. . . |
Photoshop sketches are also made. |
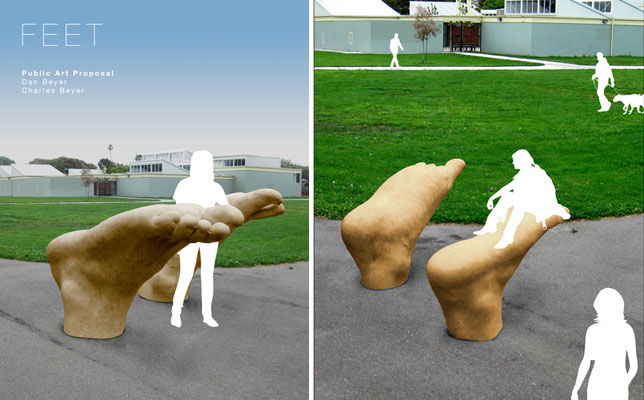
To seal the deal a fancy PDF document is made that shows and explains the piece. . . |
Semi-professional photoshop and design skills are helpful at this point. . . . |
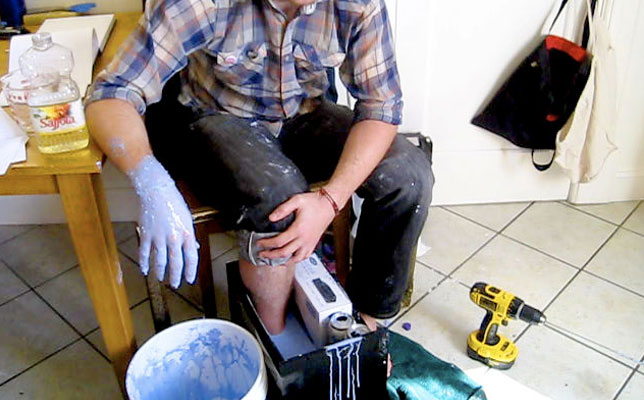
I chose to use my own feet as the model. . . |
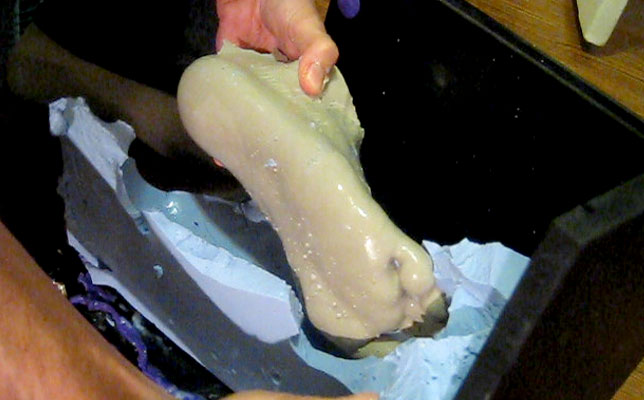
Dermagel (Alginate) is used to achieve the life casting. . . |
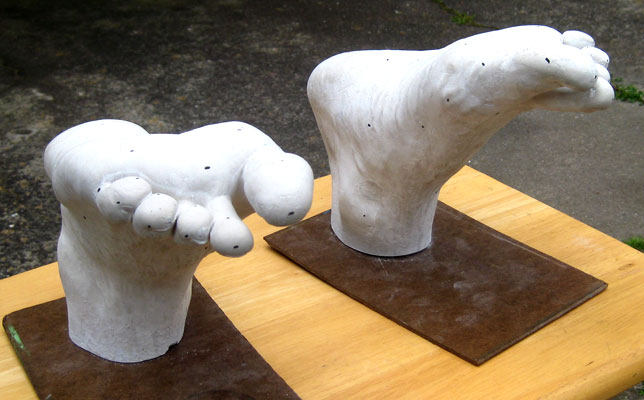
After several attempts both feet are satisfactorily cast. |
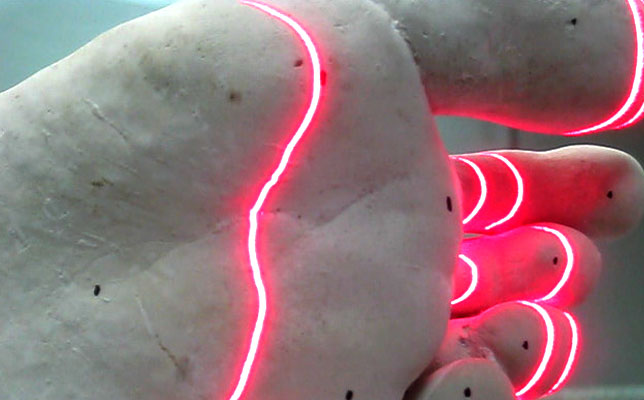
A 3D scanner captures the surface of the plaster casts using lasers. . . |
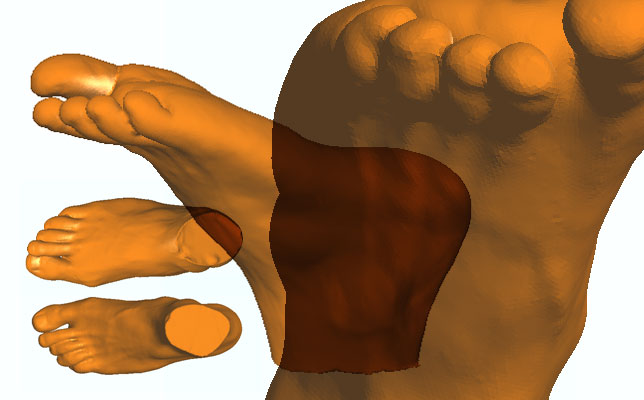
3D digital models of the plaster casts are created as STL files. |
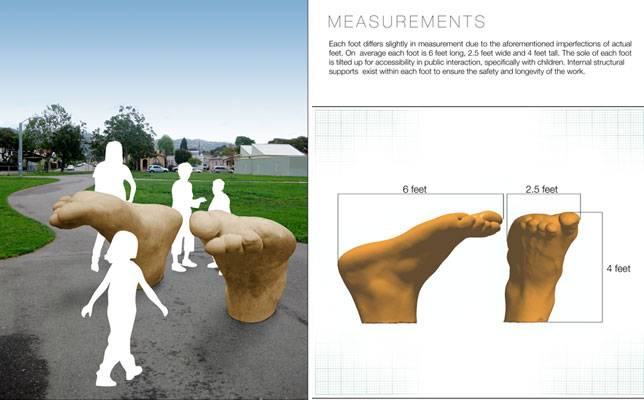
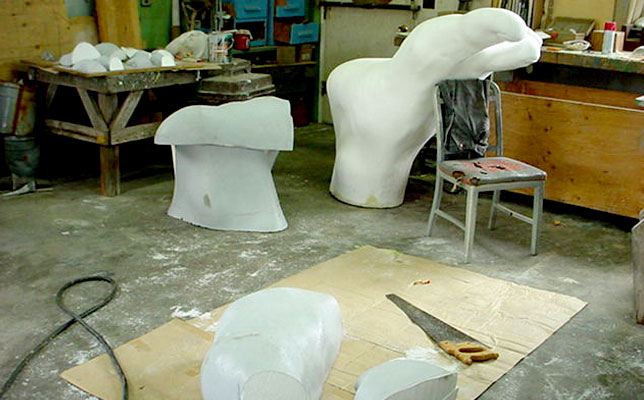
The STL file is taken to a giant foam cutting CNC machine and cut out at the final size. 6' long, 4' tall. These foam feet are referred to as the foam patterns. . |
The foam patterns are cut into as few concave pieces as possible. . . |
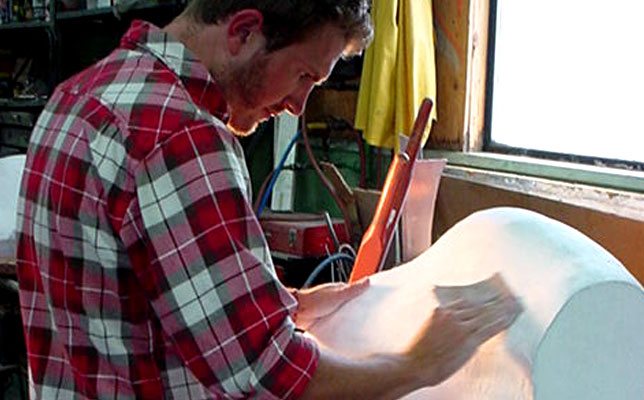
The foam pattern pieces are coated with a layer of plaster to remove the styrofoam texture. . . |
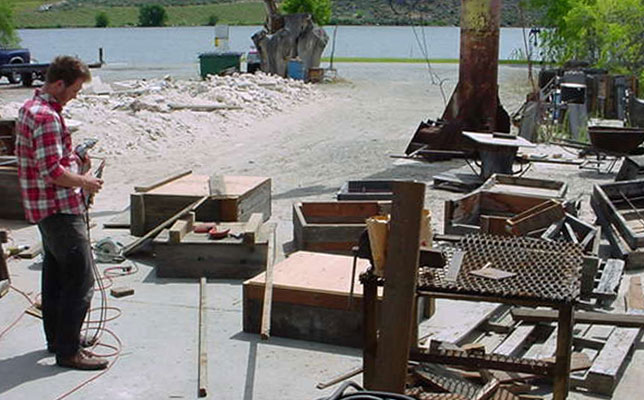
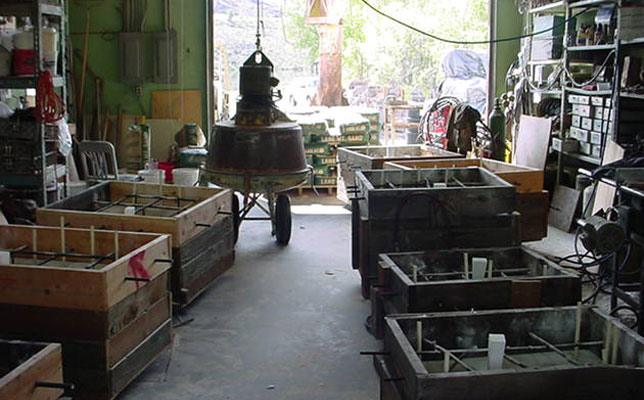
Strong wooden boxes are built specifically sized to the foam pattern pieces. . . |
The foam pattern pieces are placed in the boxes cut side down. . . |
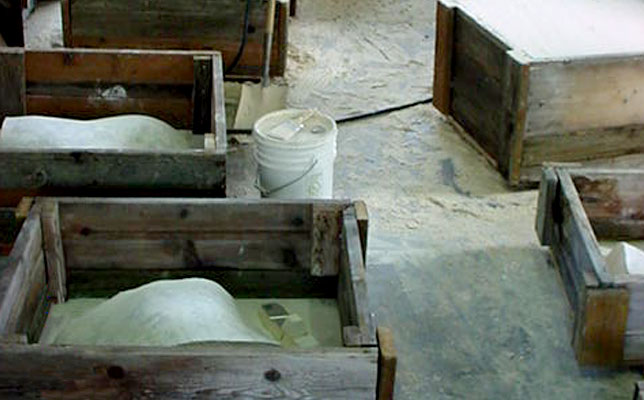
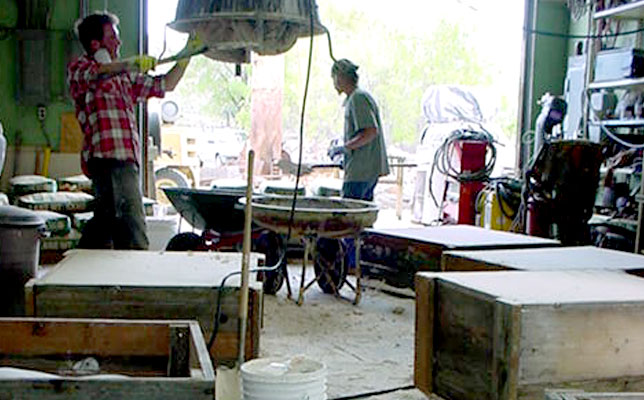
The boxes are filled with silica sand, which solidifies rock hard when mixed with a catalyst. . . |
The boxes are then left over night to 'cook' and then flipped over in the morning. . . |
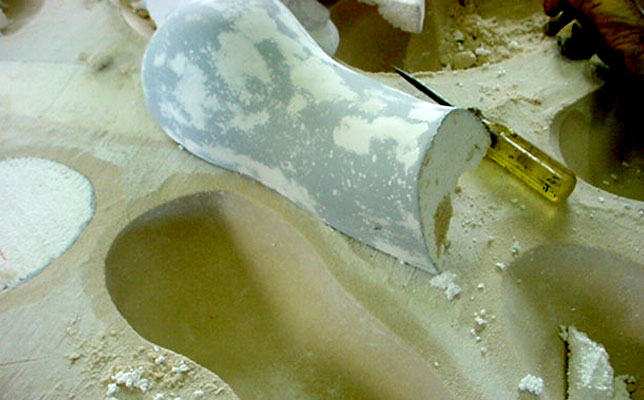
The foam pattern pieces are dug out of the solid silica sand very carefully. . . |
The resulting pattern surface in the sand is very delicate and will be the final surface of the sculpture in the end. . . |
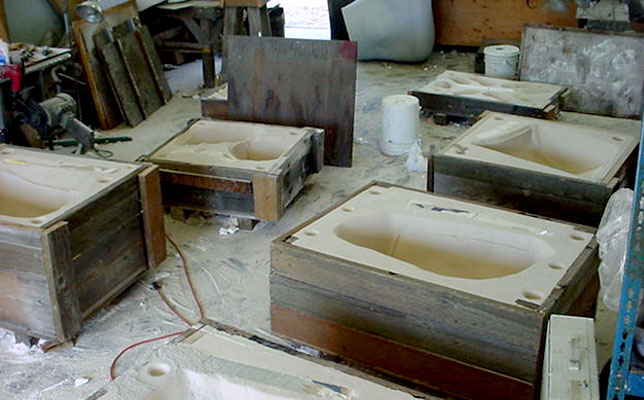
These are called the 'drags'. 1/4" slabs of clay are laid into the drags on the pattern surface. The space this clay occupies will become solid bronze. . |
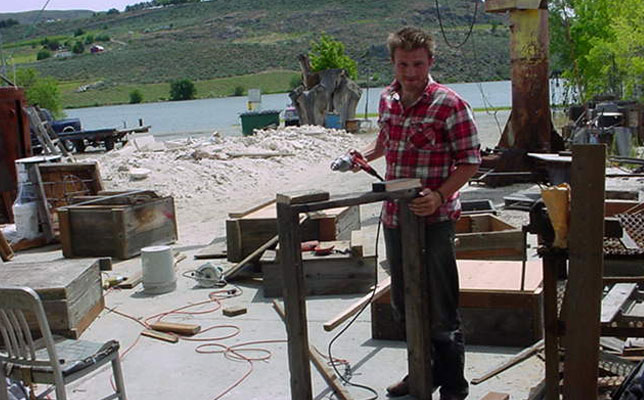
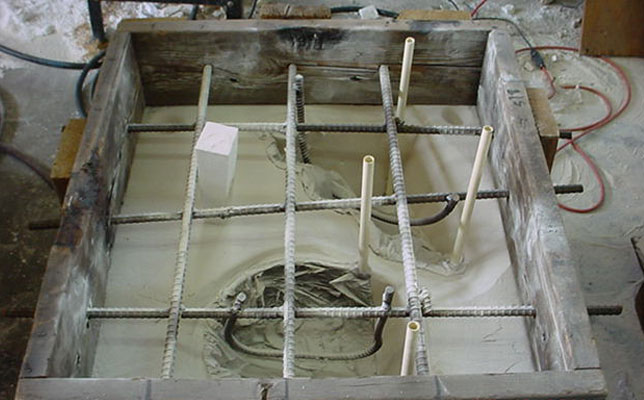
More boxes are made for the 'copes', or top pieces of a pattern cast. Each cope is built to fit each drag. . . |
The cope is built with supporting rebar to hold up the silica sand when it's put in later. Risers and spurs are put in at this stage. The styrofoam piece (the spur) is where the bronze will pour in. It will run through the pattern surface (where the clay is) and the up the risers (the little pipes). The foam, clay and pipes will be removed beforehand.
|
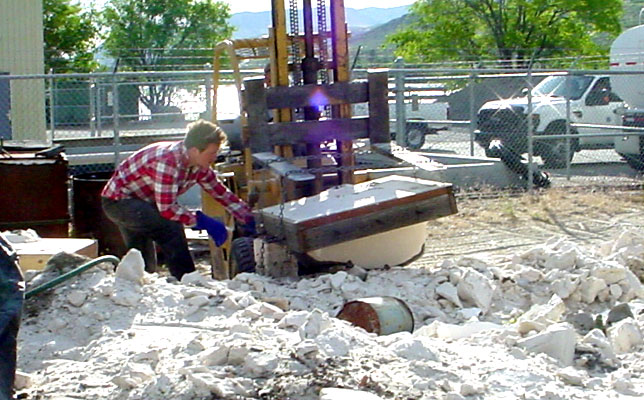
The next batch of silica sand is mixed and the copes are filled. . . |
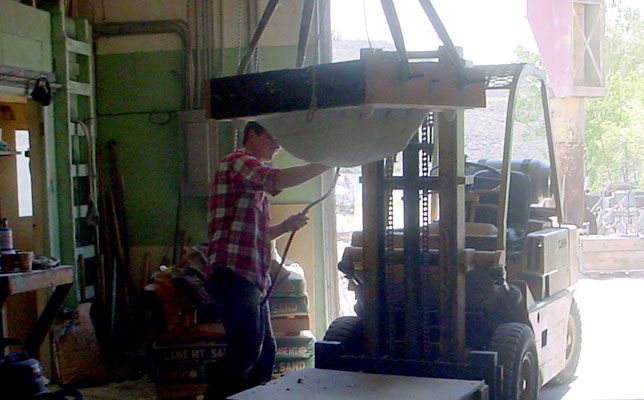
After the copes cook they are lifted off the drags with the forklift. The clay is removed from the drags, and the foam spurs are removed as well as the riser pipes. Everything is then cleaned and the copes are then put back on the drags. . |
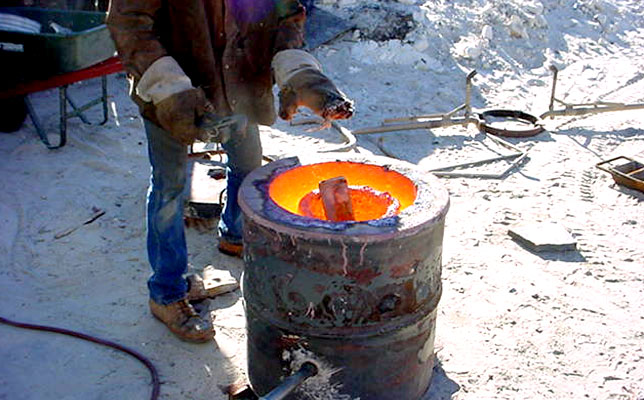
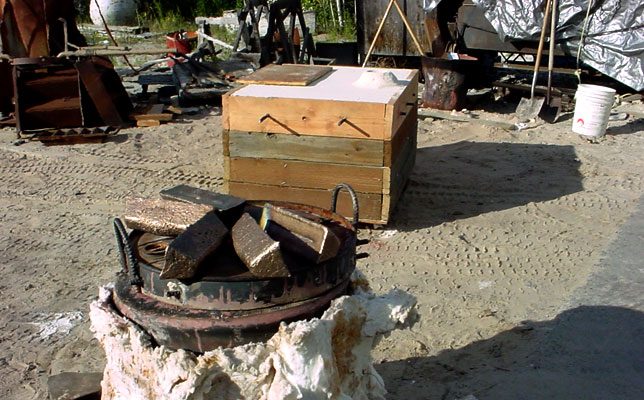
The furnace is turned on and the raw bronze ingots are melted. . . |
The bronze is then poured into the complete pattern box. I have no photos of this event because I was pouring the bronze! Please feel free to look up 'pouring bronze' to get an idea of this beautiful moment in the process. |
After all the pieces have been poured the copes are pulled off the drags again with the bronze pieces attached. These are taken to the sand pile where the bronze is dug out of the cope sand. Now everything so far is done again for the other foot. |
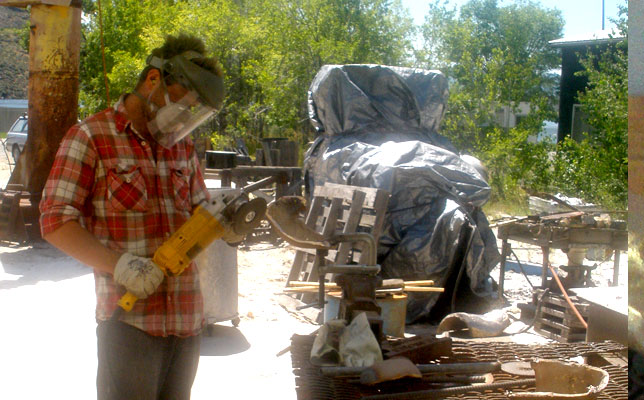
The various spurs and risers are cut off of the bronze pieces, and the edges are refined. . . |
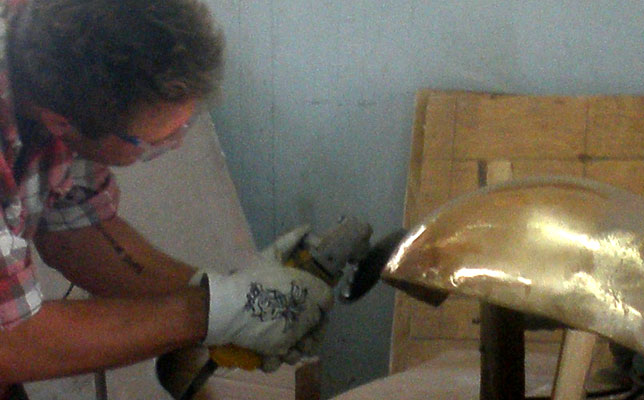
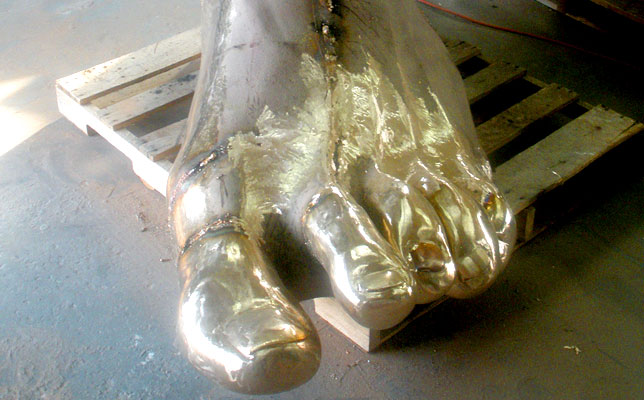
The bronze pieces are then grinded smooth. . . |
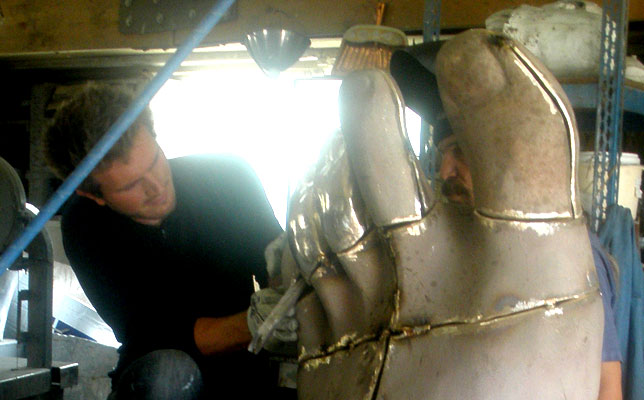
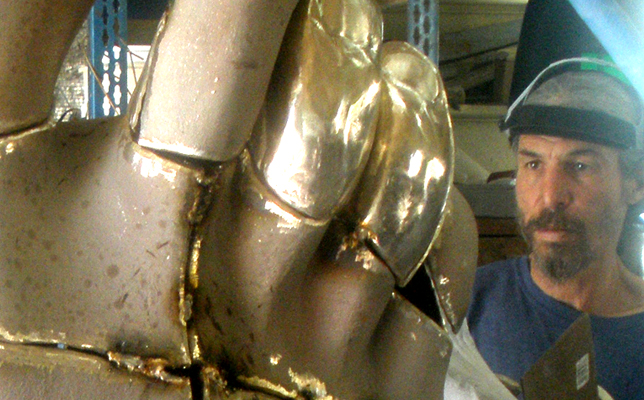
Finally the pieces are welded together! . . |
The weld seams and the unfinished areas are polished up. . . |
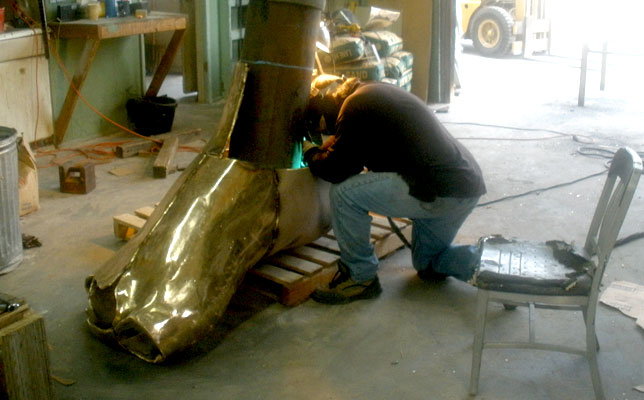
Supporting internal structure is welded in. This will act as an installation base as well. . . |
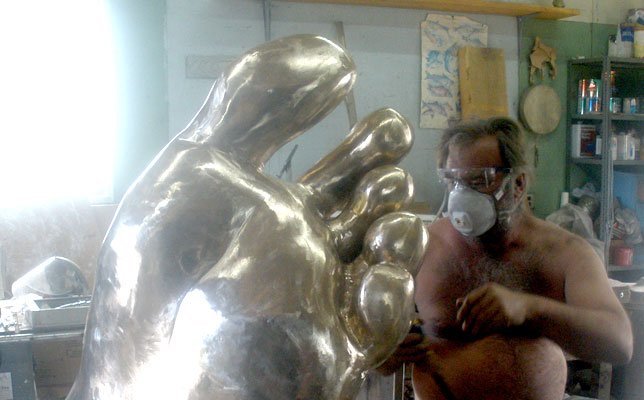
Finishing work. . . |
Final touched are made . . |
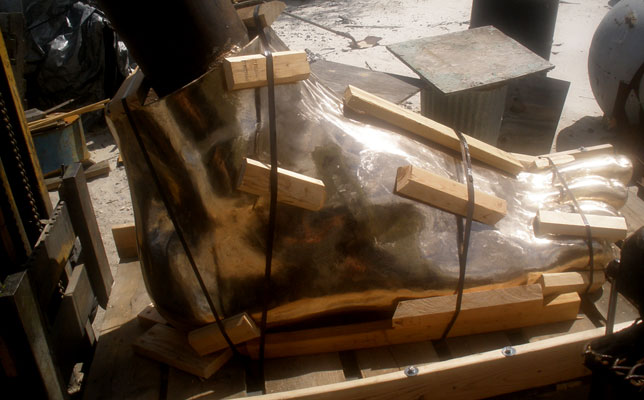
The finished feet are then secured to pallets and shipped away. . . |
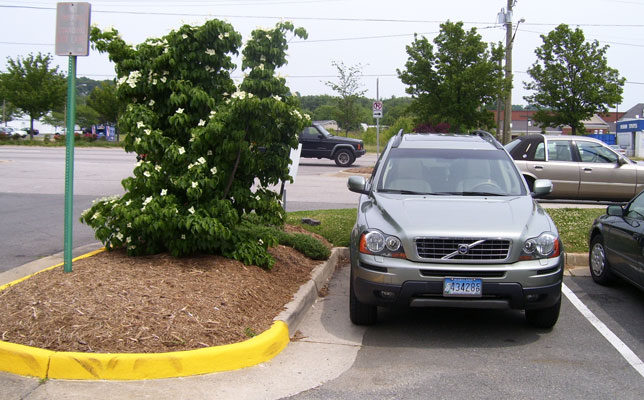
The installation site before. . . |
A parking space was removed for more room and the detailed plans are drawn up. . . |
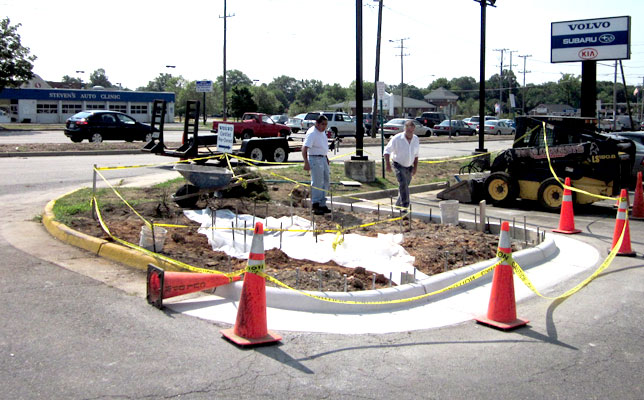
A large hole is dug and a new curb is constructed. . . |
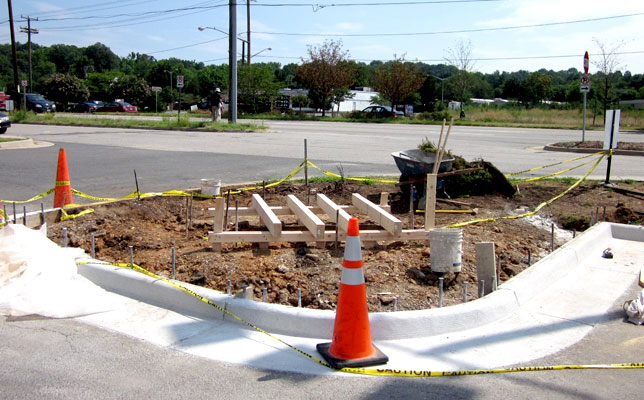
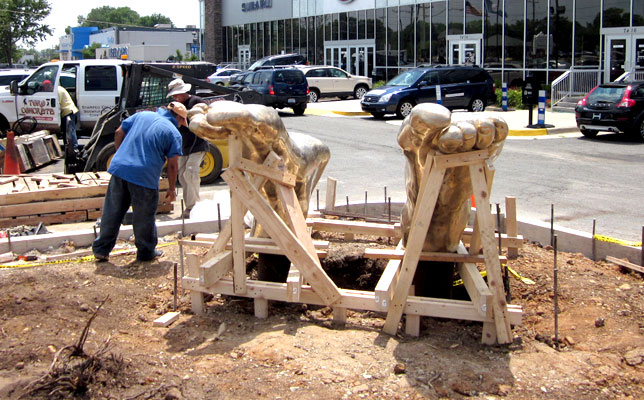
A temporary wooden support structure is made. . . |
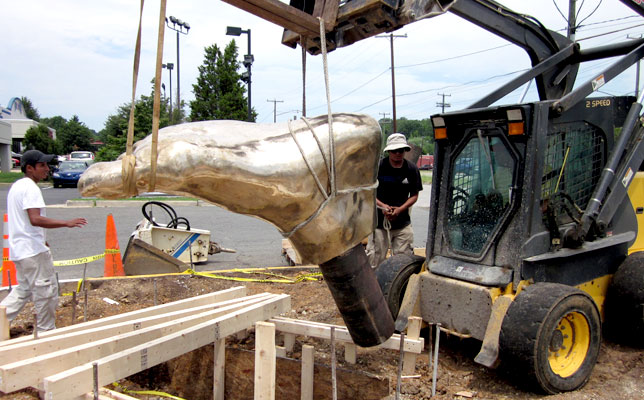
<The Feet arrive and are moved into position with the forklift. . . |
They are leveled and secured in their final positions. . . |
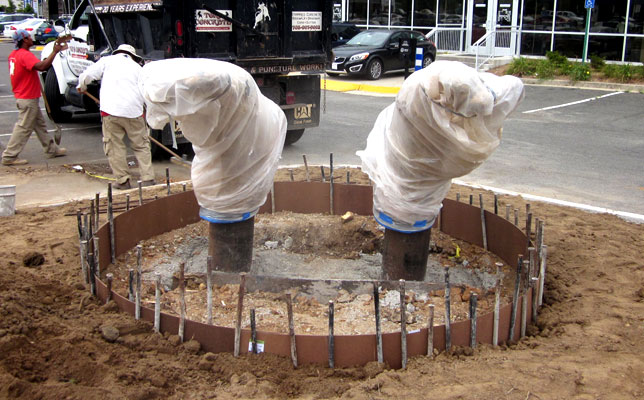
The base cement is poured. . . |
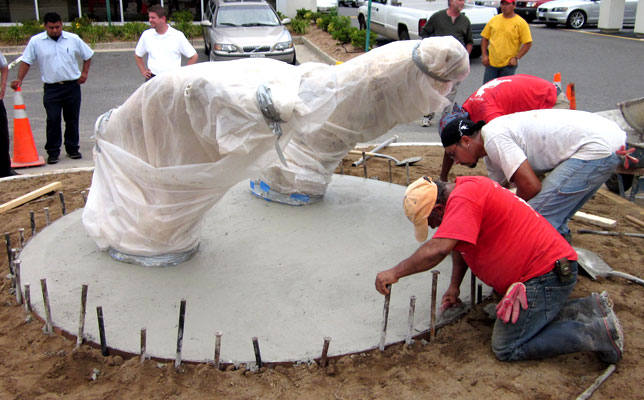
The landscape is built up and the final cement is poured in. . . |
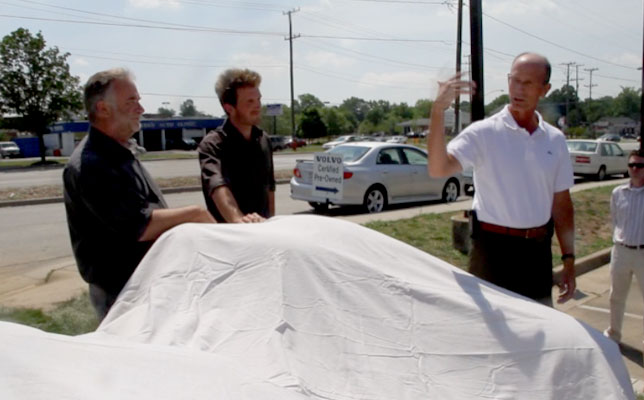
The next day a small speech is given. . . |
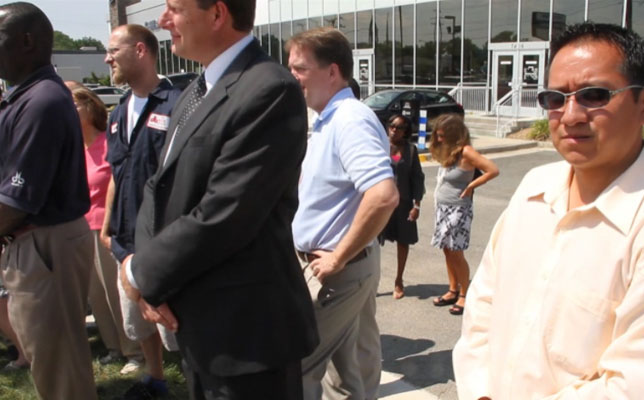
A small crowd of onlookers, car salesmen and media suits listen politely. . . |
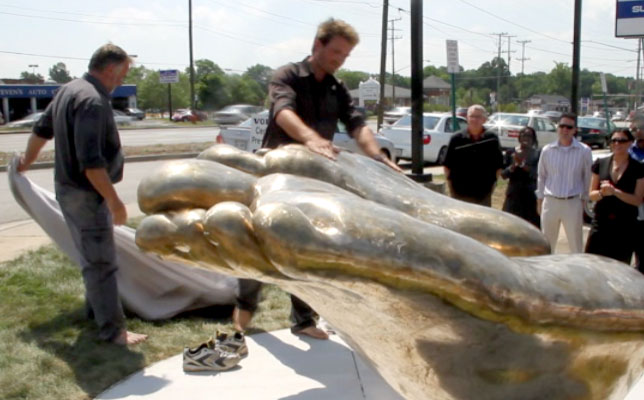
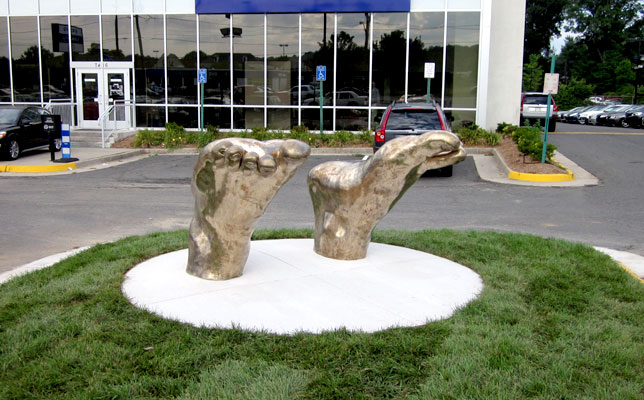
The work is revealed . . |
The artist says a few enigmatic metaphors about feet. . . |
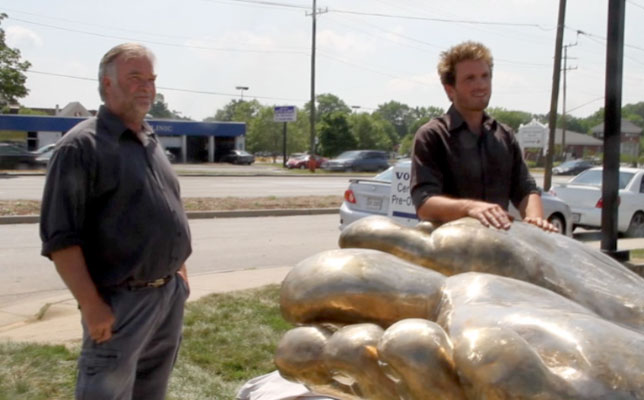
And the work is complete. . . |
Charles Beyer - "A deed is not glorious until it is finished." . . |